Bees seemed like a good first step (after the worms) to add to my livestock variety and count. After not so much deliberation (but enough to make a knowledgeable decision) I decided to follow the ways of a UK bee expert, P.J. Chandler. He describes his method as "barefoot beekeeping" or minimalist (not hippie) beekeeping. After reading The Barefoot Beekeeper twice, I started attempting to design and build the horizontal top bar hive (HTBH). This hive has many advantages that I liked; the most notable being:
- No heavy lifting
- Mouse proof
- Easy to control swarming and multiple colonies (if deciding to be more involved)
- Excellent winter insulation
- Mesh floor in spring/summer for mite control
Luckily, P.J. wrote a supplement to The Barefoot Beekeeper on making HTBHs. It was a good reference, but my Dad and I soon discovered that it could have been written a little better. We got a little confused from time to time.
Materials
The materials are quite simple, and the cost was pretty reasonable as well. For the wood, I chose red cedar. Cedar is supposed to be a nice and hardy wood that won't rot as fast as the others. The man at the store also told us that you want your cedar boards to not have white streaks in them. The white streaks were apparently weaker wood than the red streaks. Any of the materials used were high quality materials (if not the highest I could find) and all natural. The rule of thumb when building a beehive - if you won't put it on your skin, don't put it on your hive.
Overall materials cost:
- Wood (non-treated cedar) - $212.29
- Outer coating (replacing paint to keep it natural)
- Raw Linseed Oil - $28.99
- Beeswax - $6.99
- Note: the amount I bought could have easily covered 5 hives
- Nails/Screws/Bolts - $20.22
- Wire Mesh: ~$5.00
- Roofing materials (shingles and underlayer): FREE! Thanks to my brother's friend!
Total cost of the high quality materials ends up being $273.49. This made me feel better knowing that places were selling hives at a much higher cost for much lower quality of materials.
Construction
I'm not going to go into the details of the construction, mainly due to me just repeating what P.J. Chandler wrote in his book. I am going to force support for him and urge you to purchase his $1.99 ebook in order to get the exact measurements and such. In this post, I'm just going to highlight a few things that my Dad and I finally figured out after re-reading the book several times or after we started construction.
The construction is really completed in two different stages, the main body of the hive and then the roof. The roof must be done after the main body in order to ensure that it fits appropriately. The last thing that needs to be done is getting the topbars in place.
 |
| Left to right: boards cut for the ends, sides, roof, floor, and legs |
 |
| Follower boards |
 |
| Hive without the topbars in place and with the corks to plug the holes |
.JPG) |
| Hive with topbars in place |
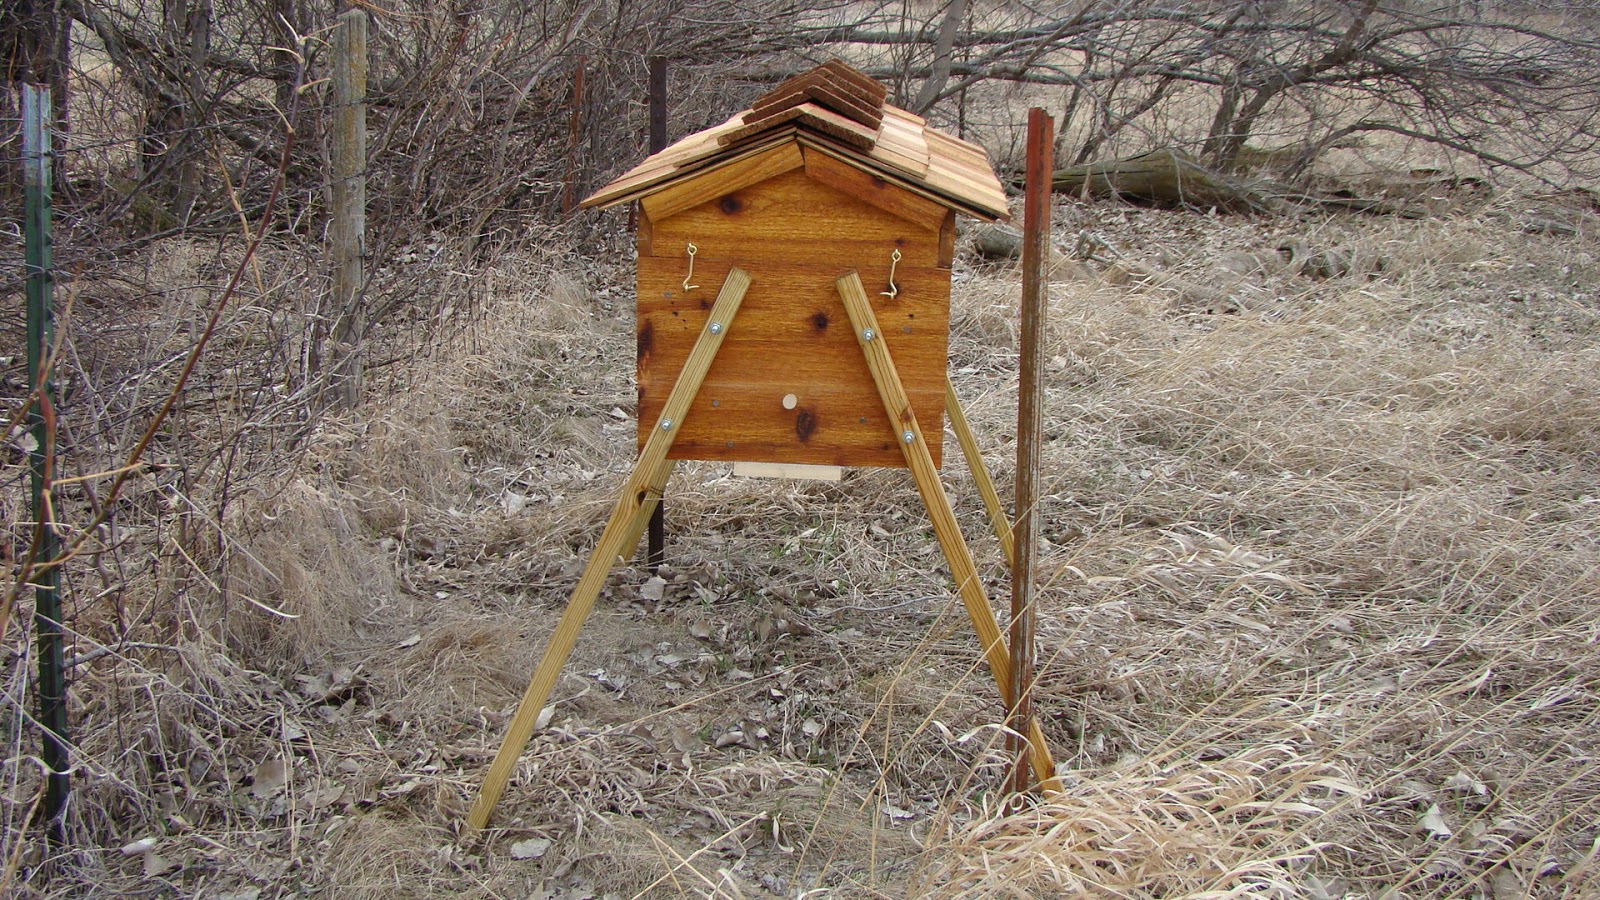 |
| Side view of the hive with hooks (to keep out the raccoons) |
 |
| Mesh floor. We reinforced it with additional boards on the bottom so raccoons wouldn't peel it off. |